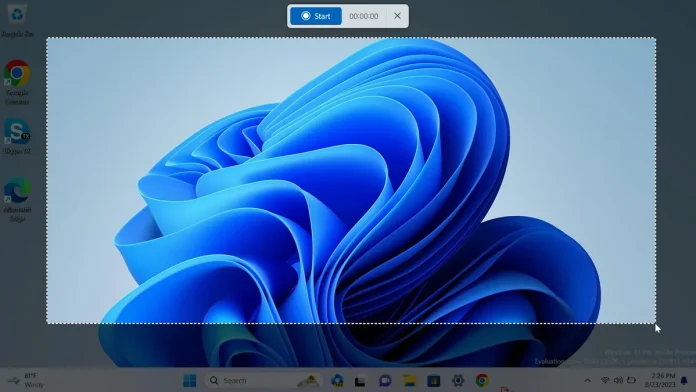
Screenshots are invaluable tools for capturing moments, sharing information, or troubleshooting technical issues. Whether you’re a seasoned professional or a casual user, knowing how to take screenshots efficiently can significantly enhance your productivity. Fortunately, Windows 10 and Windows 11 provide several built-in methods for capturing screens, making the process quick and straightforward. In this guide, we’ll explore various techniques to master screenshotting on both operating systems.
1. Using the Print Screen (PrtScn) Button:
The Print Screen button, labeled as “PrtScn” or “PrtSc,” is a traditional method for capturing the entire screen. Pressing this button copies the current screen contents to the clipboard. To take a screenshot using this method:
- Locate the Print Screen button on your keyboard.
- Press the “PrtScn” button to capture the entire screen.
- Open an image editing program like Paint or Word.
- Paste the screenshot by pressing Ctrl + V or right-clicking and selecting “Paste.”
- Save the screenshot for future use.
2. Capturing the Active Window:
If you want to capture only the active window instead of the entire screen, follow these steps:
- Click on the window you want to capture to make it active.
- Press Alt + PrtScn. This action captures the active window and copies it to the clipboard.
- Open an image editing program and paste the screenshot.
- Save the image file as desired.
3. Snipping Tool (Windows 10):
Windows 10 introduced the Snipping Tool, a built-in utility for capturing custom screenshots. Here’s how to use it:
- Type “Snipping Tool” in the Windows search bar and open the app.
- Click on “New” to start a new snip.
- Drag the cursor to select the area you want to capture.
- Release the mouse button to take the screenshot.
- Use the tools in the Snipping Tool window to annotate or highlight the screenshot if necessary.
- Save the snip to your desired location.
4. Snip & Sketch (Windows 10 and Windows 11):
In Windows 10 and Windows 11, Snip & Sketch replaces the Snipping Tool, offering enhanced features for capturing and annotating screenshots. Here’s how to use it:
- Press Windows Key + Shift + S to open Snip & Sketch.
- Select the type of snip you want (Rectangular, Freeform, Window, or Fullscreen).
- Capture the desired area of your screen.
- The screenshot is automatically copied to the clipboard and saved to the Snip & Sketch tool.
- Use the editing tools to annotate or crop the screenshot.
- Save the edited screenshot to your preferred location.
5. Windows Key + Print Screen (Windows 10) / Windows Key + Shift + S (Windows 11):
Windows 10 and Windows 11 offer a convenient shortcut to capture the entire screen and automatically save it as an image file. Here’s how to use it:
- Press Windows Key + Print Screen (Windows 10) or Windows Key + Shift + S (Windows 11) simultaneously.
- The screen dims for a moment, indicating that the screenshot has been captured.
- The screenshot is automatically saved to the “Screenshots” folder in your “Pictures” library.
- Access the screenshot from the “Screenshots” folder for further use.
6. Xbox Game Bar (Windows 10):
If you’re a gamer or need to capture screenshots while gaming, Windows 10’s Xbox Game Bar provides a convenient solution. Here’s how to use it:
- Press Windows Key + G to open the Xbox Game Bar.
- Click on the camera icon to capture a screenshot.
- The screenshot is saved to your “Videos” folder by default.
- You can access and edit the screenshot from the “Captures” folder within the “Videos” directory.
Conclusion:
Taking screenshots on Windows 10 and Windows 11 is remarkably easy, thanks to the array of built-in tools and shortcuts. Whether you prefer capturing the entire screen, specific windows, or custom areas, there’s a method to suit your needs. By mastering these techniques, you can efficiently capture and share information, troubleshoot issues, or create engaging content with ease. Experiment with these methods to discover the one that best fits your workflow and elevate your screenshotting game on Windows.


